Introduction
Welcome to this comprehensive guide on installing and configuring the AVR toolchain for Windows, and integrating it with Windows Terminal. The AVR toolchain is an essential set of tools for developing and programming AVR microcontrollers. By following this guide, you’ll be able to set up the AVR toolchain, configure Windows Terminal, and use the tools effectively for your AVR projects.
Before we begin, I would like to acknowledge the original guide by Tony Mitchell, which served as the basis for this tutorial. Let’s get started!
Installation
Step 1: Install AVR Toolchain and avrdude
To begin, let’s create a folder where we’ll install the AVR toolchain and avrdude. Open File Explorer and navigate to your user profile directory (e.g., $env:USERPROFILE). Create a new folder named “AVR” in this directory.
In the created \AVR folder, we will install the AVR toolchain and avrdude. Follow these steps:
- Download the AVR toolchain and save it to the
\AVRfolder. Extract the downloaded archive into the\AVRfolder, so the resulting directory structure looks like this:
C:\Users\tom\AVR
└───avr8-gnu-toolchain
    ├───avr
    ├───bin
    ├───doc
    ├───include
    ├───info
    ├───lib
    ├───libexec
    ├───man
    ├───share
└───x86_64-w64-mingw32- Next, download avrdude and save the executable (
avrdude.exe) and its associated files to the\AVR\avrdudefolder. Your directory structure should now resemble the following:
C:\Users\tom\AVR
└───avr8-gnu-toolchain
    ├───avr
    ├───bin
    ├───doc
    ├───include
    ├───info
    ├───lib
    ├───libexec
    ├───man
    ├───share
    └───x86_64-w64-mingw32
└───avrdude
    ├───avrdude.exe
    ├───avrdude.conf
    └───avrdude.pdb
Note: The original guide suggested using C:\AVR as the dev tools path, but we opted for $env:USERPROFILE\AVR (e.g., C:\Users\tom\AVR) for greater flexibility.
Step 2: Install Gnuwin32 Make
To simplify the installation process, we’ll use the built-in Package Manager in Windows, called winget, to install Gnuwin32 Make. This approach allows for easy installation and future updates.
-
Open a PowerShell window.
-
Execute the following command to install Gnuwin32 Make:
winget install --id GnuWin32.MakeWith Gnuwin32 Make successfully installed, we are now ready to proceed to the next section.
Windows Terminal Integration
Step 1: Create the Activation Script
Now, we’ll create a PowerShell activation script that sets up the environment for compiling and programming AVR microcontrollers. This script adds the necessary directories to the system path variable and provides instructions for compiling and flashing AVR projects.
- Open a text editor and create a new file named
Initialize-AVR.ps1within the\AVRfolder. Your directory structure should now resemble the following:
C:\Users\tom\AVR
└───avr8-gnu-toolchain
    ├───avr
    ├───bin
    ├───doc
    ├───include
    ├───info
    ├───lib
    ├───libexec
    ├───man
    ├───share
    └───x86_64-w64-mingw32
└───avrdude
    ├───avrdude.exe
    ├───avrdude.conf
    └───avrdude.pdb
└───Initialize-AVR.ps1- Copy and paste the following content into the
Initialize-AVR.ps1file:
# This script is called from a Windows shortcut and Windows Terminal launcher fragments.

$TOOLS_DIR = "$env:USERPROFILE\AVR"

$AVR_toolchain_dir = "$TOOLS_DIR\avr8-gnu-toolchain\bin"
"AVR toolchain: Adding $AVR_toolchain_dir to environment path"
$env:Path += ";$AVR_toolchain_dir"

$AVR_dude_dir = "$TOOLS_DIR\avrdude"
"AVR Dude: Adding $AVR_dude_dir to environment path"
$env:Path += ";$AVR_dude_dir"

$AVR_GnuWin32_dir = "C:\Program Files (x86)\GnuWin32\bin"
"GnuWin32: Adding $AVR_GnuWin32_dir to environment path"
$env:Path += ";$AVR_GnuWin32_dir"

"
Done! You can now compile AVR projects.
Go to the project directory.

To compile, run:
avr-gcc blink.c -o blink.elf -mmcu=atmega328 -DF_CPU=16000000UL -Os

To convert to hex to program MCU later, run:
avr-objcopy blink.elf -O ihex blink.hex

To flash, run:
avrdude -c arduino -p atmega328p -U flash:w:`"blink.hex`":a -P COM4
"
This PowerShell script performs the following actions:
- Sets the
$TOOLS_DIRvariable to the user’s profile directory with the subdirectory\AVR - Adds the
avr8-gnu-toolchain\binsubdirectory of$TOOLS_DIRto the system path variable$env:Path - Adds the
avrdudesubdirectory of$TOOLS_DIRto the system path variable$env:Path - Adds the
GnuWin32\bindirectory to the system path variable$env:Path - Displays a message indicating that the setup is complete and provides instructions for compiling, converting to hex, and flashing AVR projects
Step 2: Add the Profile to Windows Terminal
-
Open Windows Terminal.
-
Click the downward arrow button near the tabs bar and select “Settings” from the dropdown menu.
-
In the Settings page, locate the “Profiles” section.
-
Click the “New Profile” button to create a new profile.
-
Configure the new profile with the following details:
-
Name:
GCC-AVR -
Command line:
C:\WINDOWS/System32/WindowsPowerShell/v1.0/powershell.exe -ExecutionPolicy Bypass -NoExit -File %USERPROFILE%\AVR/Initialize-AVR.ps1 -
Starting directory: Use parent process directory
-
Icons: https://companieslogo.com/img/orig/MCHP-167156da.png
-
Appearance (optional): Select your preferred color scheme, e.g., “Cascadia Mono”
- Click the “Save” button to save the profile.
Congratulations! You have successfully added the AVR toolchain integration to Windows Terminal.
Testing the Setup
To verify that the AVR toolchain is correctly installed and integrated with Windows Terminal, follow these steps:
-
Open Windows Terminal.
-
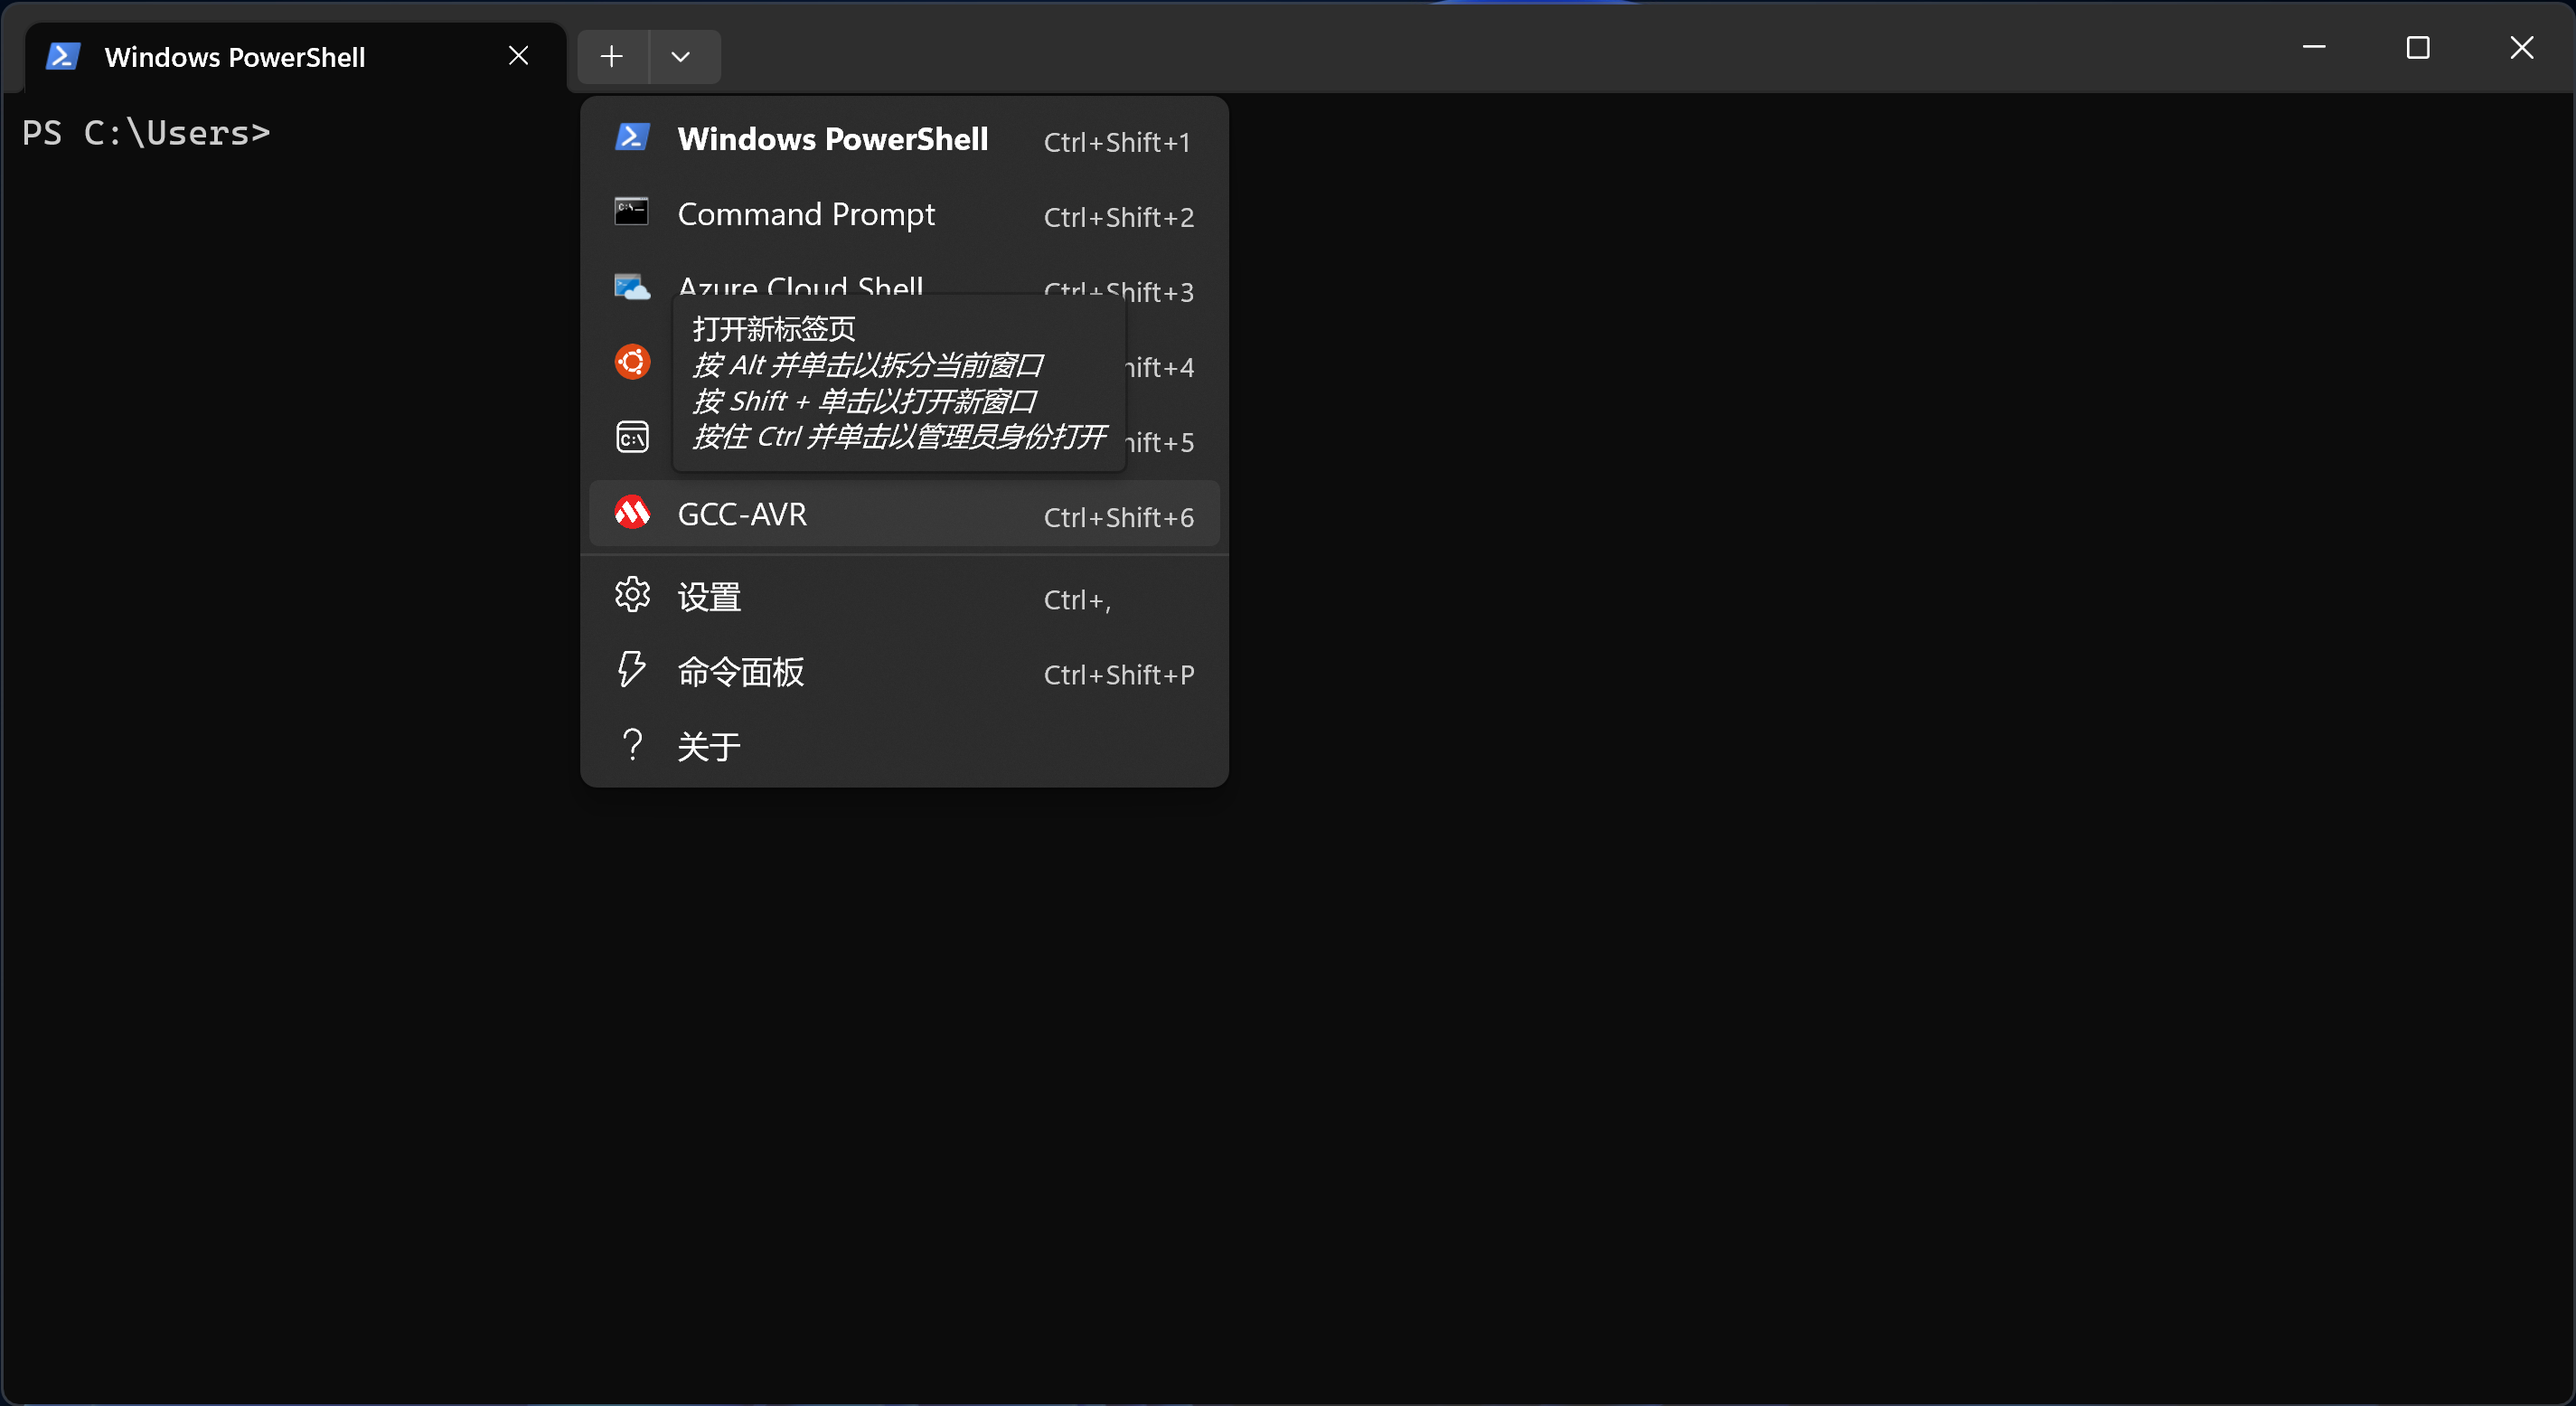
Click the downward arrow button near the tabs bar to reveal the list of available profiles.
-
Select the
GCC-AVRprofile with the Microchip Inc. logo. -
Once the terminal window opens, you should see logs indicating the successful addition of paths, similar to the following:
AVR toolchain: Adding C:\Users\tom\AVR\avr8-gnu-toolchain\bin to environment path
AVR Dude: Adding C:\Users\tom\AVR\avrdude to environment path
GnuWin32: Adding C:\Program Files (x86)\GnuWin32\bin to environment path

Done! You can now compile AVR projects.
Go to the project directory.

To compile, run:
avr-gcc blink.c -o blink.elf -mmcu=atmega328 -DF_CPU=16000000UL -Os

To convert to hex to program the MCU later, run:
avr-objcopy blink.elf -O ihex blink.hex

To flash, run:
avrdude -c arduino -p atmega328p -U flash:w:"blink.hex":a -P COM4

PS C:\WINDOWS\System32>
If you see the logs without any errors, congratulations! You have successfully set up the AVR toolchain and integrated it with Windows Terminal.
Conclusion
In this guide, we covered the step-by-step process of installing the AVR toolchain, integrating it with Windows Terminal, and configuring the necessary profiles. Now, you can harness the power of the AVR toolchain for developing and programming AVR microcontrollers with ease.
Happy coding!